As I approached the finale of my Apollo Odyssey GraphQL journey, my adventure took an unexpected turn. Due to a security incident involving stolen Heroku and GitHub OAuth tokens, Heroku revoked all OAuth tokens and disabled the feature indefinitely. Rather than seeing this as a blocker, I took it as an opportunity to strengthen my AWS skills.
In this article (Part 1), we deploy our GraphQL server using AWS Lambda. Part 2 will focus on deploying the React client with AWS Amplify, completing the full‑stack journey.
Prerequisites
Before starting, ensure you have completed the following:
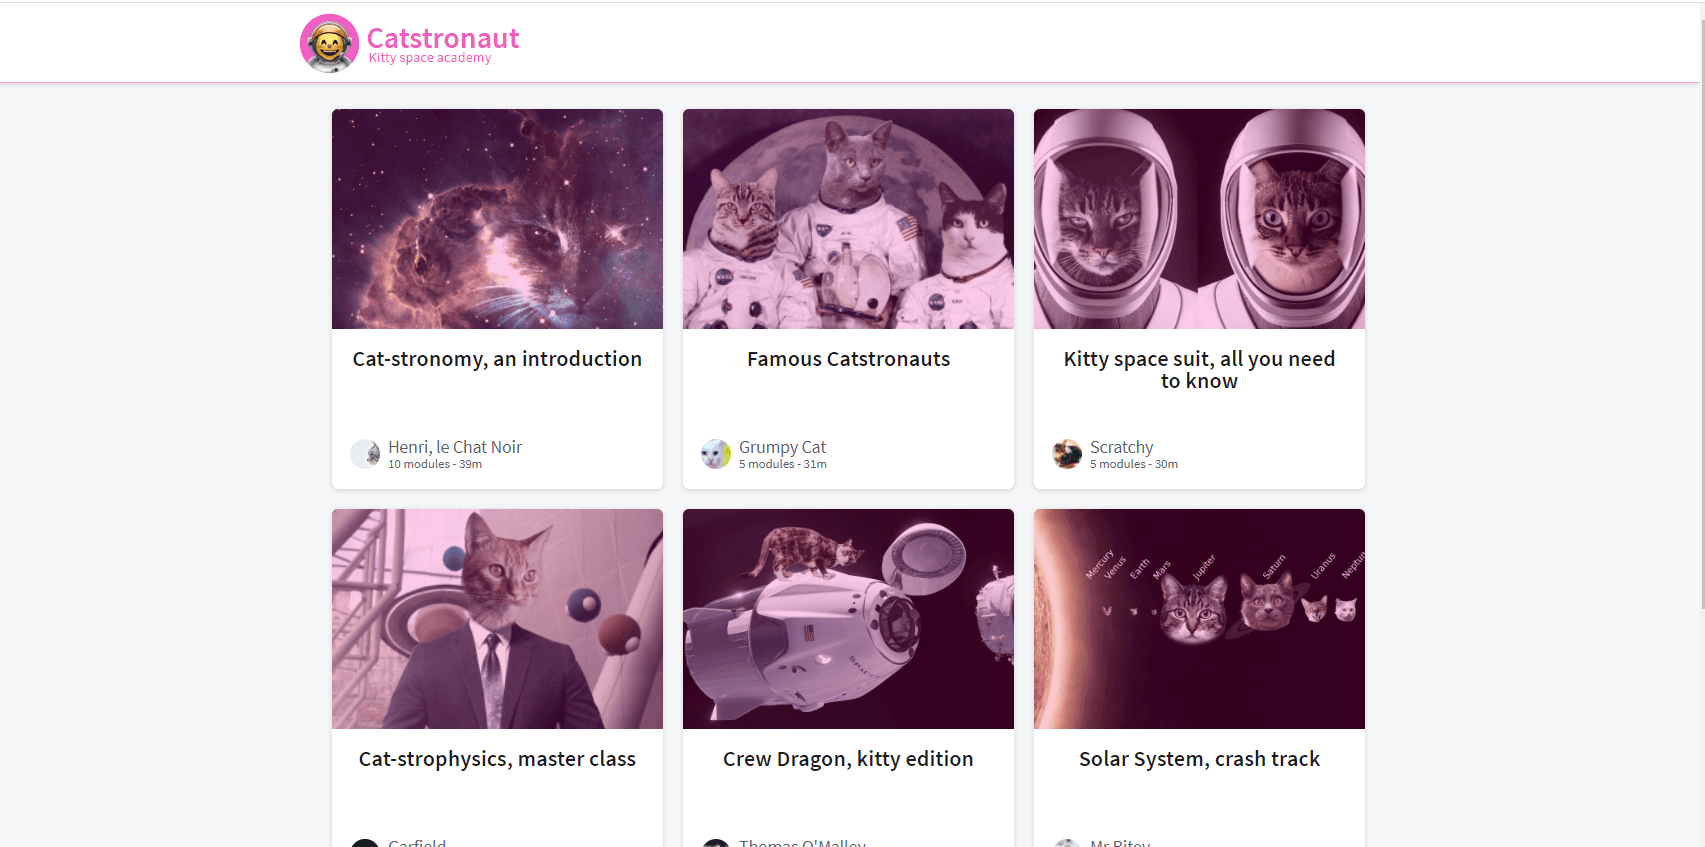
- Complete Apollo GraphQL – Lift Off Part 5 (Deploying Apollo Server)
- Create an AWS account
- Install the AWS CLI
- Configure the AWS CLI with your credentials
- Install the required dependencies
npm install apollo-server-lambdaSetting up Apollo Server for AWS Lambda
We’ll deploy our GraphQL server to AWS Lambda. Navigate to the root of your server project (odyssey-lift-off-part5-server) and install the required dependency:
npm install apollo-server-lambdaCreate graphql.js
This file must live in the project root, not inside src.
// graphql.js
const { ApolloServer } = require("apollo-server-lambda");

const server = new ApolloServer();

exports.graphqlHandler = server.createHandler();
Update your schema import
Change your schema file to import from apollo-server-lambda:
// src/schema.js
const { gql } = require("apollo-server-lambda");
Wiring up the server
Next, we connect our schema, resolvers, and data sources.
// graphql.js
const { ApolloServer } = require("apollo-server-lambda");
const typeDefs = require("./src/schema");
const TrackAPI = require("./src/datasources/track-api");
const resolvers = require("./src/resolvers");

const server = new ApolloServer({
  typeDefs,
  resolvers,
  dataSources: () => {
    return {
      trackAPI: new TrackAPI(),
    };
  },
});

exports.graphqlHandler = server.createHandler();
Deploying with the Serverless Framework
The Serverless Framework simplifies deploying AWS Lambda functions.
Create serverless.yml
# serverless.yml
service: apollo-lambda

provider:
  name: aws
  runtime: nodejs14.x

functions:
  graphql:
    handler: graphql.graphqlHandler
    events:
      - http:
          path: /
          method: post
          cors: true
      - http:
          path: /
          method: get
          cors: true
Deploy the server
serverless deployThis command packages your Lambda function, uploads artifacts to S3, creates a CloudFormation stack, and outputs your GraphQL endpoint URL.
Connecting Apollo Studio
Once deployed, log into the AWS Console and navigate to Lambda. Locate your new function and add the required Apollo environment variables provided when registering your schema in Apollo Studio.
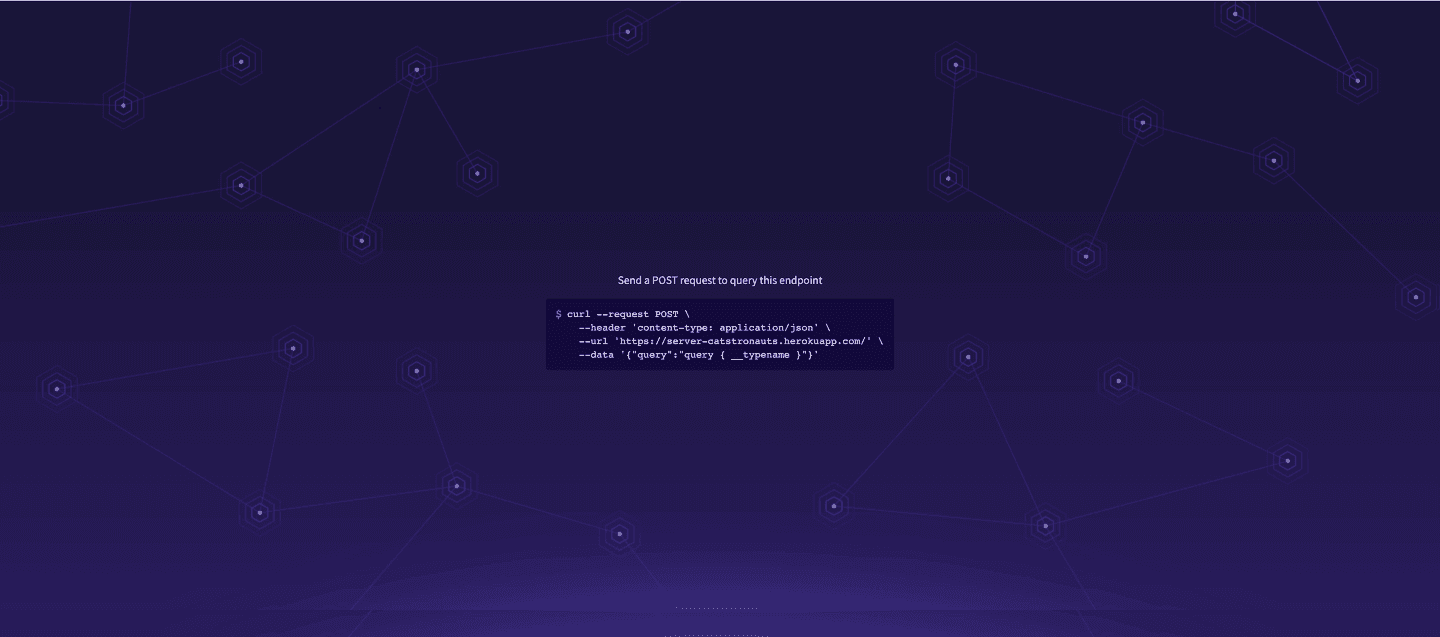
After saving, visit your Lambda endpoint URL. If everything worked, Apollo Sandbox should load successfully.
Cleaning up AWS resources
If you’re not continuing immediately, remove all AWS resources to avoid unexpected charges:
npx serverless remove⚠️ Do not run this command if you plan to proceed to Part 2 right away.
Conclusion
We’ve successfully deployed an Apollo GraphQL Server to AWS Lambda, replacing Heroku with a scalable, production-ready solution. Next up: Part 2 — Deploying the React client with AWS Amplify.